Rubber Tree Plant Care; Growing Rubber Plant
Rubber Plant Care as a houseplant is easy. Besides being an attractive, low-maintenance plant, it also purifies indoor air!

Welcome to the world of Rubber Tree Plant Care! Whether you’re a beginner or an experienced plant lover, this guide will provide you with expert advice on nurturing and growing your rubber plant. From optimal watering techniques to ideal lighting conditions, unlock the secrets to a thriving rubber tree plant in no time.
Botanical Name: Ficus elastica
USDA Zones: 10 – 11
Common Names: Rubber tree plant, rubber fig, rubber plant, India rubber tree, Indian rubber bush, rubber bush, rubber tree, rubber fig tree, rubber fig bush, Assam rubber tree.
Rubber Tree Plant Information
The Rubber Tree (Ficus elastica) is a resilient and popular houseplant that is native to Southeast Asia. It is known for its attractive glossy leaves and easy-care nature. With its origins in tropical regions, this plant has adapted well to indoor environments.
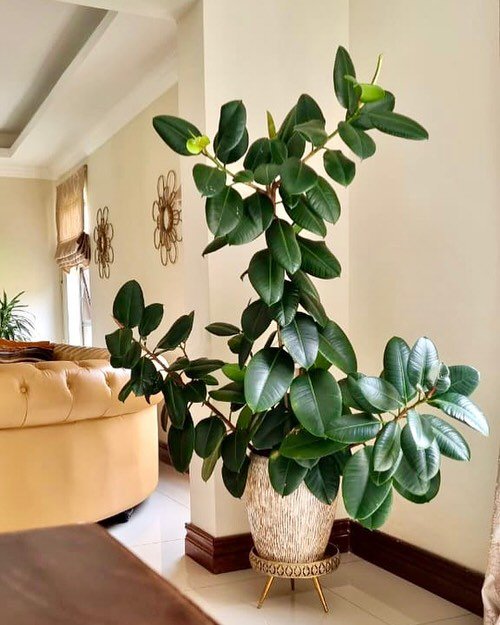
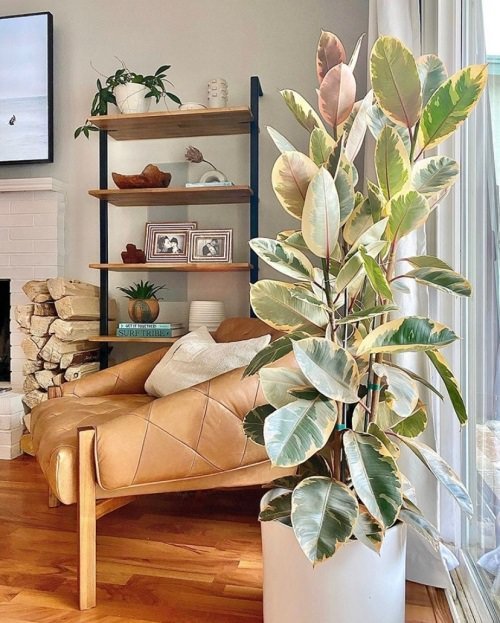
The Rubber Tree features large, leathery leaves with a shiny appearance. The leaves can be dark green, burgundy, or variegated, adding visual interest to any space. They are typically oval or elliptical in shape and have a thick, rubbery texture.
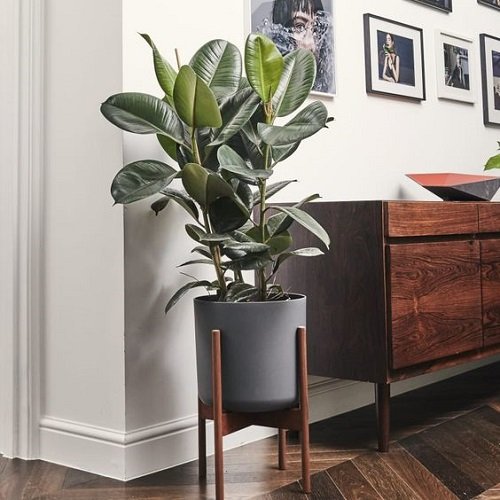
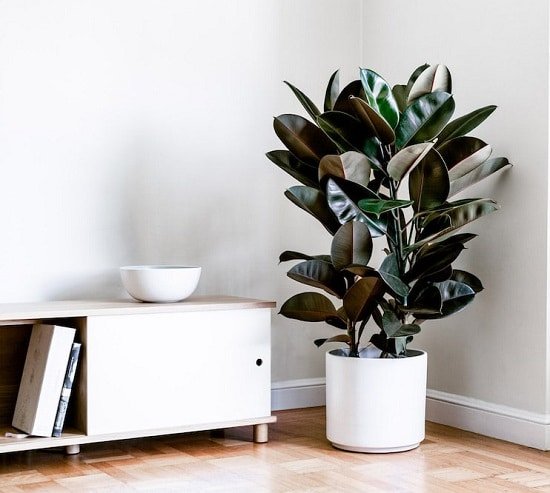
Rubber Trees can grow quite tall. They can reach heights of 6 to 10 feet (1.8 to 3 meters) or even more. This vertical growth habit makes them an excellent choice for adding greenery and height to indoor spaces. With proper care and pruning, they can be trained to develop an upright or bushy form, depending on your preference.
Are rubber plants easy to care for? Absolutely! Rubber tree plant care is easy, and it survives even in poorly lit areas, which makes it a very popular houseplant.
How to Grow Rubber Plant?
From Seeds:
- Start with fresh rubber plant seeds. Look for seeds that are plump and free from any signs of damage or mold.
- To enhance germination, soak the seeds in warm water for 24 hours. This process helps soften the seed coat and promotes better seedling development.
- Prepare a seed-starting tray or small pots with a well-draining potting mix. A mix containing peat moss, perlite, and regular potting soil is suitable.
- Plant the seeds about 1/4 inch (6 mm) deep in the soil. Gently press them into the soil, ensuring good soil-to-seed contact.
- Keep the soil consistently moist but not waterlogged. Water the soil lightly, ensuring it remains damp throughout the germination process.
- Place the seed tray or pots in a warm and well-lit area. Indirect sunlight is preferable, as direct sunlight can be too intense and potentially harm the young seedlings.
- Germination of rubber plant seeds can be a slow process, taking several weeks or even months. Patience is key during this stage.
- Once the seedlings have developed a few leaves and are strong enough to handle, transplant them into individual pots filled with a suitable potting mix.
- Provide proper care for the seedlings, including regular watering, adequate light, and appropriate humidity levels. Avoid overwatering and ensure good drainage to prevent root rot. And that’s it. Soon, you will see a small rubber plant emerge.
From Cutting:
Don’t know how to propagate a rubber plant? Start with the following:
- Select a healthy stem cutting from an existing rubber plant. Look for a section that is about 6-8 inches (15-20 cm) long and has a few leaves attached.
- Make a clean, diagonal cut just below a node, which is the area where leaves attach to the stem. Use clean, sharp pruning shears to ensure a smooth cut.
- Remove any leaves from the lower portion of the cutting, leaving a few leaves on the upper part. This helps reduce moisture loss and directs energy toward root development.
- Fill a small pot with a well-draining potting mix. A mixture of peat moss and perlite or vermiculite works well.
- Create a small hole in the potting mix and insert the lower end of the cutting into it. Gently firm the soil around the cutting to hold it in place.
- Place the pot in a warm and bright location, avoiding direct sunlight. Indirect light or filtered light is ideal for rooting cuttings.
- Keep the potting mix lightly moist but not overly wet. Water the cutting carefully, ensuring that the soil doesn’t become waterlogged, which can lead to rot.
- Maintain a humid environment around the cutting to prevent excessive moisture loss. You can cover the cutting with a clear plastic bag or place it in a propagator to create a mini greenhouse effect.
- Over the next several weeks, monitor the cutting for root development. Once roots have formed, you can gradually acclimate the cutting to normal growing conditions by removing the covering or propagator.
- Transplant the rooted cutting into a larger pot with well-draining soil, continuing with regular baby rubber plant care.
Plant Pot Size for Growing Rubber Plant
To ensure optimal growth of your Rubber Plant, choose a pot that accommodates its specific needs. Start with a pot that is about 1-2 inches (2.5-5 cm) larger in diameter than the plant’s root ball. This allows sufficient space for the roots to spread comfortably without overwhelming them.
Avoid selecting a pot that is excessively large, as it can lead to water retention and potential root issues. As the Rubber Plant grows, gradually increase the pot size during repotting every 1-2 years or when you notice root-bound symptoms.
Additionally, ensure the chosen pot has drainage holes at the bottom to prevent waterlogging and promote proper drainage for the plant’s health and continue with ficus rubber plant care.
Requirements for Growing Rubber Plant
Sunlight
Confused about rubber plant light requirements? Rubber plants thrive in bright, indirect light. They prefer a location with filtered sunlight or partial shade. Direct sunlight can scorch the leaves, so it’s best to avoid placing them in intense, direct sunlight.
A north or east-facing window with bright, indirect light is often ideal for rubber plant care indoors. If you have placed your rubber plant on a south or west-facing window, ensure that the plant is shielded from direct sun exposure by using sheer curtains or placing it a few feet away from the window.
Soil
Rubber plants prefer a well-draining soil mix that retains some moisture but doesn’t become waterlogged. Want the best soil for rubber plant? You should go with a mixture of equal parts peat moss, perlite, and regular potting soil.
This combination provides adequate drainage while retaining enough moisture for the plant’s needs. Avoid using heavy clay-based soils that can lead to water stagnation and root rot.
Water
Wondering how often to water rubber plant? When it comes to watering, it’s important to maintain moderately moist soil for rubber plants. Allow the top inch (2.5 cm) of the soil to dry out between waterings. Overwatering can lead to root rot, so it’s crucial to avoid saturating the soil excessively.
Here are Signs of Overwatering & How to Save an Overwatered Plant
However, ensure that the plant doesn’t experience prolonged dry periods, as it can cause leaf drop. Adjust the watering frequency based on environmental conditions, such as temperature, humidity, and the plant’s specific needs.
Temperature & Humidity
Rubber plants prefer average to warm temperatures ranging between 60-80°F (15-27°C). They can tolerate slightly cooler temperatures but are sensitive to cold drafts. Avoid placing them in areas with sudden temperature fluctuations or near air conditioning vents or heaters.
As for humidity, rubber plants appreciate moderate to high humidity levels. If the air in your home or office is dry, you can increase humidity by misting the leaves with water or using a humidifier. This helps prevent the leaves from drying out and maintains optimal growth conditions for the plant.
Rubber Plant Care
Wondering how to care for a rubber plant? We’ve got you covered.
Fertilizer
Rubber plants benefit from regular fertilization. During the growing season (spring and summer), apply a balanced liquid fertilizer every 2-4 weeks. Dilute the fertilizer to half the recommended strength to avoid overfertilization, which can lead to the burning of the plant’s roots.
In the dormant season (fall and winter), reduce fertilization to once every 1-2 months or suspend it altogether. Thinking about variegated rubber plant care? It’s the same.
Pruning
Pruning is an essential aspect of rubber plant care. Regular pruning helps maintain the desired shape, removes dead or damaged foliage, and encourages bushier growth.
You can trim back overgrown branches to control the plant’s size and shape. Use clean and sharp pruning shears or scissors to make clean cuts just above a leaf node.
Pruning can be performed throughout the year, but it’s generally best to do it during the spring or early summer when the plant is actively growing.
Pests and Diseases
While rubber plants are relatively resilient, they can be susceptible to certain pests and diseases. Common pests include spider mites, mealybugs, scale insects, and aphids. Regularly inspect your plant for any signs of infestation, such as webbing, sticky residue, or visible insects.
Overwatering the rubber plant can lead to root rot, while excessive moisture and poor air circulation can encourage fungal infections.
To prevent these issues, ensure proper watering practices, provide adequate drainage, and promote good air circulation around the plant. Promptly remove any diseased or infected foliage to prevent the spread of diseases to healthy parts of the plant.
Rubber Plant Care Tips
- Confused about repotting rubber plant? Repot the plant when it becomes root-bound. It grows quickly, and within a year, you’ll need to repot it.
- Once the desired size is achieved, stop repotting and keep it root-bound.
- If you’re unable to repot the plant, scrap a few inches of potting soil and replace it.
- When fertilizing indoor plants, ensure you don’t feed them heavily. A light dose is enough.
- Wipe and clean the leaves with a damp sponge once in a while.
- Avoid overwatering or misting of leaves with too cold water as rubber plant loses their leaves due to overwatering or when sprayed with too cold water.
Frequently Asked Questions
1. Rubber Plant Leaves Curling Solution
Curling leaves in a rubber plant could be due to overwatering or underwatering. Ensure the plant is receiving consistent but moderate watering and maintain appropriate humidity levels.
2. Why Is My Rubber Plant Dropping Leaves?
Dropping leaves in a rubber plant can be caused by various factors, including underwatering, overwatering, insufficient light, temperature stress, or pests. Assess the plant’s care routine, check for any signs of pests, and make necessary adjustments to ensure optimal growing conditions.
By Ralph Astley


Post A Comment:
0 comments: